Image courtesy of TCGdex.net
Metal Backbone: Using a Beldum in Control-Oriented Pokémon TCG Decks
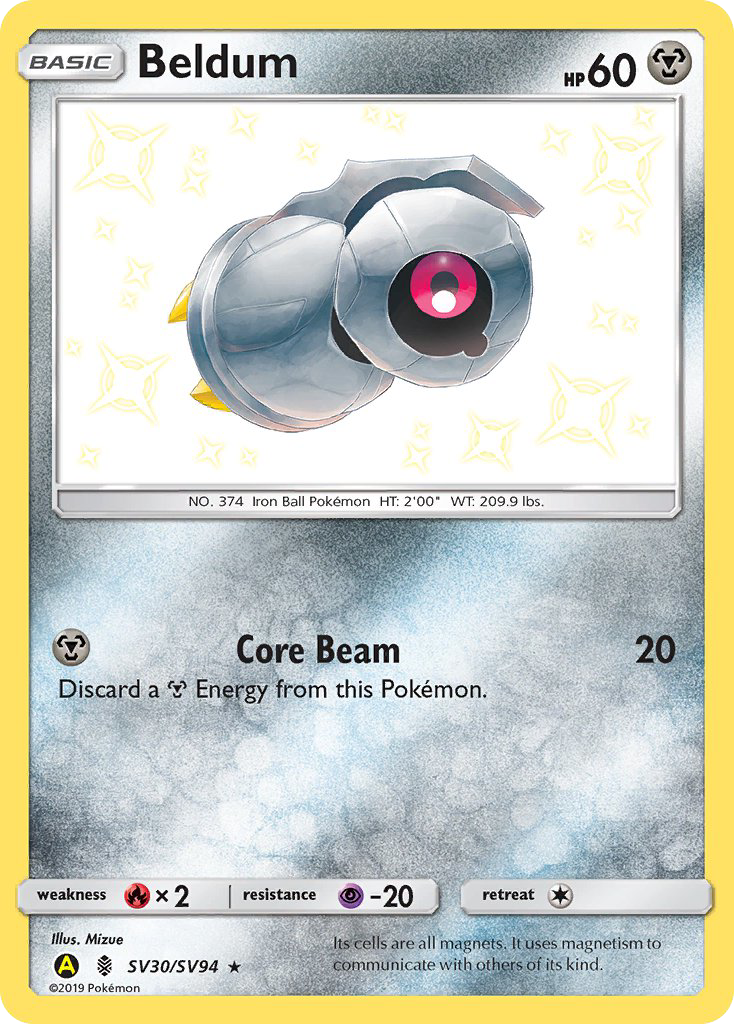
In the world of the Pokémon Trading Card Game, control-focused builds prize tempo, disruption, and a steady tempo sweep toward victory. A humble Basic like Beldum can become a surprising anchor for a well-tuned control shell. This specific printing, from the SMA set with the Yellow A Alternate designation and illustrated by Mizue, embodies the practical elegance of early-game stability. With 60 HP, a single Metal energy requirement, and a straightforward attack named Core Beam, Beldum invites thoughtful play rather than brute force. ⚡
Card at a glance
- Type: Metal
- Hp: 60
- Stage: Basic
- Attack: Core Beam — Cost: Metal. Effect: Discard a Metal Energy from this Pokémon. Damage: 20
- Weakness: Fire ×2
- Resistance: Psychic -20
- Retreat Cost: 1
- Rarity: Common
- Illustrator: Mizue
- Set: SMA (Yellow A Alternate variant)
- Evolves: None (Basic Pokémon)
For collectors, the SMA SV30 printing is a treasure: the Yellow A Alternate variant, with holo and reverse options, highlights the metallic sheen that perfectly suits Beldum’s steel-like silhouette. The card’s art by Mizue offers a clean, mechanical charm that fans remember fondly from that era. As a Common card, it’s accessible to new players while still feeling special in holo forms—an appealing combination for both play and display. 💎
Strategic philosophy: control through tempo and resource management
In control-oriented decks, the goal is not to blitz the opponent but to prevent them from doing so. Beldum’s Core Beam, while modest on its own, becomes a strategic tool when used thoughtfully. The attack’s cost—one Metal energy—and its self-contained energy-discard effect push your deck toward efficient energy cycling and careful resource stewardship. The key is to leverage the card’s fragility and the tempo it creates. You threaten a 20-damage poke while you assemble the bigger pieces of your plan, all while keeping your opponent guessing about what you’ll do next.
Because Beldum is a Basic with only 60 HP, you’ll want to guard it behind a supportive line of defense or rely on bench pressure that keeps the active space contested. In practical terms, think in terms of: (1) loading energy to Beldum for early pressure, (2) using the subsequent turns to accelerate into a more durable attacker, and (3) interweaving disruption that slows your opponent’s development. The single-energy Core Beam also invites deliberate energy management—you might discard a Metal energy on Beldum to trigger an on-theme engine that rewards you for precise energy placement and loss timing.
As you advance the game, the control arc of the deck moves from Beldum to its evolutions—Metang and eventually Metagross—where you gain staying power, higher HP, and more versatile offensive options. The path from Basic to tougher threats mirrors the control arc: establish the board, keep pace with your opponent’s resource denial, then pivot into a heavier artillery phase when your evolutions land. This flow helps you weather early pressure while you set up the big stabilizers that give you the long game edge. 🔥🎴
Deck-building insights: synergizing with the metal toolbox
Two principles guide building around Beldum in a control-centric deck: focus on reliable early board presence and ensure your later-game engines aren’t dependent on a single line of play. Because Beldum’s attack requires Metal energy and discards one from itself, you’ll want consistent Metal energy acceleration elsewhere in the deck—whether via draw-supporting engines, search cards, or energy recovery options—so your early Core Beam is complemented by a robust mid- to late-game plan.
Beyond energy, blends of disruption and resource management—think trainer cards that slow the opponent while you shore up your own resources—let Beldum contribute meaningfully without overstaying its welcome. The weakness to Fire adds a real-life consideration: in environments with intense Fire archetypes, i t’s wise to cushion Beldum with quick evolutions or bench-presence that can weather quick takes on the active slot. The Pokémon’s resistances help you survive Psychic-heavy boards, but it’s the careful timing of energy and evolution that truly unlocks its control potential. 🎨
Collector’s perspective: rarity, art, and the allure of the set
As a Common in the SMA set, Beldum is more accessible to collectors than many of its peers. The Yellow A Alternate print heightens the appeal, especially among those who chase variant art and holo surfaces. Mizue’s illustration captures the mechanical, steel-like essence of Beldum, making it a favorite for fans who enjoy the boyhood nostalgia of the process of evolution—beginning with a small spark of damage and culminating in a championship-level fortress with Metagross at the helm.
From a market perspective, holo and reverse-foil versions tend to pull modest premiums relative to their standard prints, particularly among collectors who prize nostalgia and variant art. Even as a Common, Beldum’s lore and role in early-to-mid-game control strategies keep it relevant in trade discussions and deck-building dialogues. For new players, it’s a chance to own a piece of a beloved meta-narrative without breaking the bank. ⚡
Practical tips for playing the Beldum shell
- Keep Beldum on the bench until it serves a clear tempo function; don’t overcommit to an early attack if you can delay until your evolutions are ready.
- Pair metal energy acceleration with draw/search engines to ensure you can execute Core Beam while cycling energy for your next steps.
- Build a balanced approach to Fire-type threats by leveraging your evolving chain to reach Metagross’s resilience as soon as possible.
- Use disruption and stall tactics in tandem with Beldum’s presence to limit your opponent’s setup, creating space for your heavier threats to arrive unthreatened.
- Celebrate the set’s art and rarity—the Yellow A Alternate print is a fantastic addition to any collection, and the holo variant gleams on display boards and in binder pages alike.
More from our network
- https://crypto-acolytes.xyz/blog/post/definitive-list-of-japanese-horror-games-you-should-play/
- https://crypto-acolytes.xyz/blog/post/how-artificial-scarcity-is-reshaping-virtual-world-economies/
- https://blog.zero-static.xyz/blog/post/mondassian-colony-ship-origin-story-and-set-lore-revealed/
- https://blog.zero-static.xyz/blog/post/how-bojuka-brigand-shifts-engagement-across-archetypes/
- https://transparent-paper.shop/blog/post/texture-map-mastery-for-modern-3d-designers/